Now it is time to understand the basics of how this program works. I will probably start with how to download and install a mod.
First of all, downloading mods from Nexus is very simple.
To do this, find any mod → open the “Files” tab → click “Mod Manager Download”. After that, if you are logged into your account, the archive you downloaded will appear in MO2 itself, in the “Downloads” tab.
To add a mod that you downloaded manually into Mod Organizer, simply drag the archive into the Downloads tab inside MO2.
Here you will have two options for installing a mod.
The first method → drag the archive to the required place, meaning where you want the file to be located.
The second method → simply double-click it and install the mod.
Before installing, I strongly recommend checking how the mod is being installed every time.
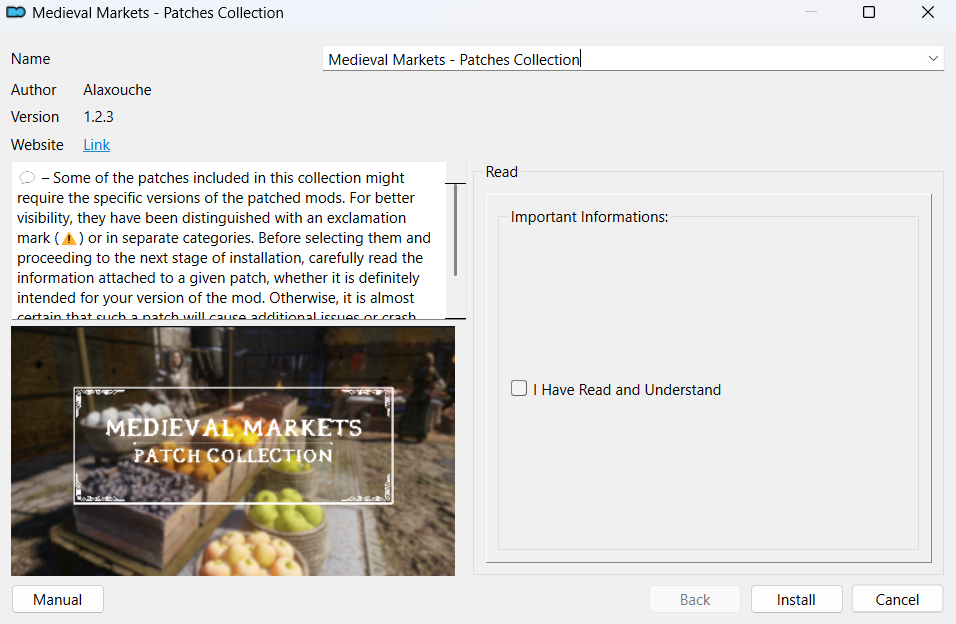
Right now on your screen, you can see a so-called “FOMOD”, or an “interactive installer”, as I like to call it.
In the left corner, there is a “Manual” button → it takes you to the file window showing which files will be installed. I will explain this in more detail in the “File Structure” section.
In general, I do not recommend looking through the files in these “interactive installers”, because they have a special file structure, and everything is installed correctly there.

Below is an example of what a non-interactive installer looks like from the inside.
As you can see, the files are installed directly into the Data folder. Unfortunately, in regular MO2 this cannot be changed, but later I will explain how to bypass this limitation.
The meshes folder contains 3D models.
The textures folder contains textures that are applied to the 3D model.
.ini files are usually settings files, and you should not touch them if you do not understand what you are doing.

Now we have reached one of the most important features of Mod Organizer 2 — the so-called “lightning bolts” ⚡.
Many beginners see these small icons next to mod names and do not understand what they mean. In reality, this is the system of priorities and file overwrites between mods.
In Mod Organizer 2, every modification, or mod, is stored in a separate folder.
When you launch the game through MO2, it virtually combines all these folders into one structure, so the game “thinks” that everything is installed into one single Data folder.
But if two mods contain the same files, for example:
textures/armor/iron.dds
then the question appears — which exact file will be used in the game?
And this is where the lightning bolts appear:
⚡ Lightning bolt with a plus (+) — the mod overwrites files from other mods.
→ Its files have priority, meaning they are the ones that will appear in the game.
⚡ Lightning bolt with a minus (–) — the mod is being overwritten by others.
→ Its files are replaced by other mods with higher priority.
⚡ Gray lightning bolt — the mod has been completely overwritten by another mod and does not work at all.
This way, the lightning bolts help you see which mods affect each other and which mod “wins” in a file conflict.
In order to properly organize your mods, I strongly recommend using separators.
To create one, right-click on an empty space and select the option shown below.

This is needed so that you can sort your mods conveniently and navigate MO2 more easily.
And before you throw everything into one separator, I recommend doing it like this:
Create all the necessary separators, for example:
Textures, Combat, Gameplay, Lighting, and so on.
Place them in the correct order. Personally, I prefer this order:
Base Mods
Fixes
Textures
Lighting Mods
Gameplay
Animations
Patches
Mods that must be last
Mods that should not be overwritten by anything.
And only after all of that should you start placing mods into the separators.